
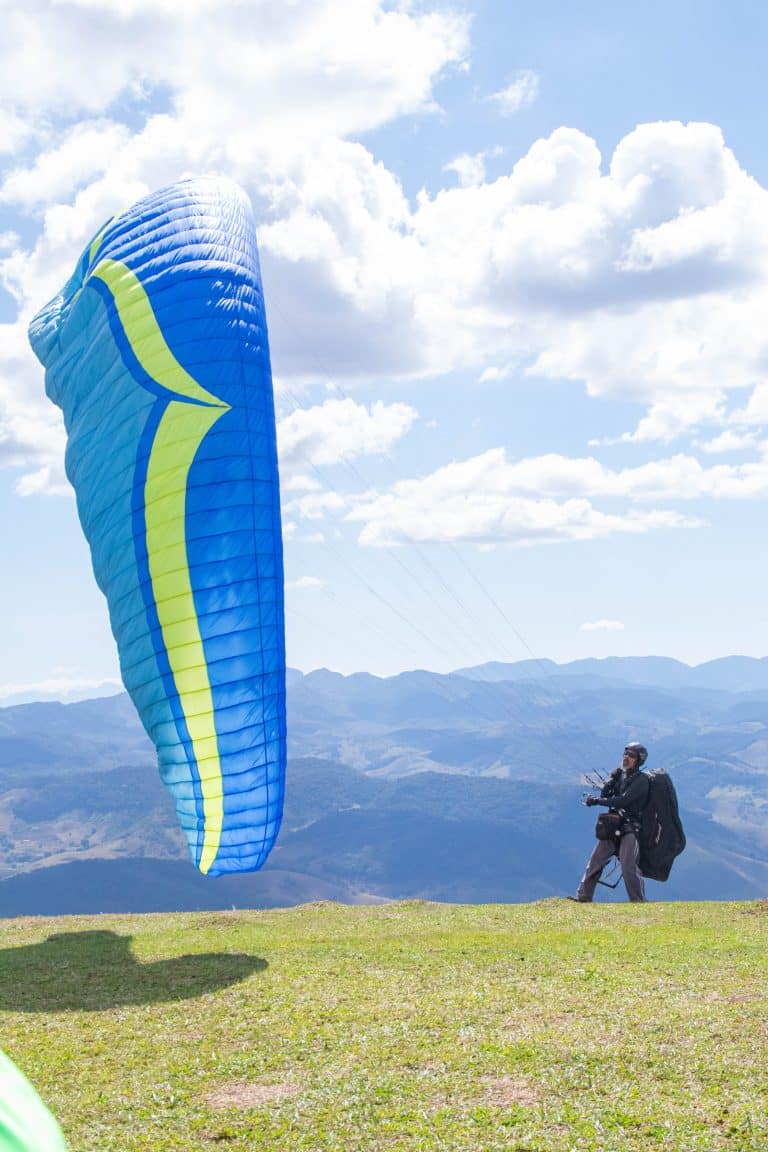
How to Launch a Paraglider – Three Techniques to Master
There are several launch techniques that a paraglider can use, depending on the wind conditions and terrain. In this blog post, we’ll delve into the three primary launch methods: forward launch, reverse launch, and assisted launch.
Forward Launch: Embracing the Wind
The forward launch, also known as the “alpine launch,” is often the first technique taught to aspiring paragliders and is essential when the wind is light or non-existent. Its simplicity and effectiveness make it a favorite among both beginners and seasoned pilots. Let’s delve deeper into the steps and nuances of executing a successful forward launch.
Setting Up
- Wing Layout: Begin by laying your paraglider wing neatly behind you. Ensure that all lines are untangled and the canopy is spread evenly. This meticulous preparation prevents line snags and uneven inflation.
- Pre-Flight Checks: Perform a thorough pre-flight inspection:
- Lines: Check for knots or tangles.
- Harness: Ensure all buckles are securely fastened.
- Helmet and Gear: Wear your helmet and any other protective equipment.
- Facing the Right Direction: Stand facing the direction of your intended takeoff. This is usually down a gentle slope to aid in building airspeed.
- Holding the Risers: Grasp the forward (A) risers firmly but comfortably in each hand. Some pilots prefer to hold the brake toggles simultaneously; if you do this, ensure they are correctly positioned to avoid interference.
The Run-Up
- Initial Movement: Start with a slow, steady walk to build momentum. Avoid sudden movements that could cause the wing to inflate unevenly.
- Building Speed: Gradually transition from walking to jogging. Consistent speed helps the wing inflate smoothly.
- Wing Inflation: As you move forward, the air will flow into the cells of the wing, causing it to inflate. Keep holding the A-risers until the wing is above you.
Wing Control
- Monitoring the Wing: Resist the urge to look up at the wing. Instead, feel its position through the tension in the risers and lines.
- Release the A-Risers: Once the wing is overhead and stable, smoothly release the A-risers. Immediately place your hands on the brake toggles if you haven’t already.
- Correcting Direction:
- Wing Off-Center: If the wing pulls to one side, make a slight step toward that side to realign under the center of the wing.
- Asymmetrical Inflation: Gently apply brake input on the side that is rising faster to balance the wing.
Achieving Lift-Off
- Maintain Acceleration: Continue running forward. The goal is to reach the necessary airspeed for takeoff.
- Brake Application: Gently apply a small amount of brake pressure to increase lift. Be cautious—over-braking can stall the wing.
- Feel the Lift: You’ll sense the wing beginning to support your weight. Keep running until you’re fully airborne.
- Leg Position: Do not lift your legs too early. Keep them running beneath you until you’re clearly off the ground to prevent a premature or unstable takeoff.
After Takeoff
- Settle into the Harness: Once airborne and clear of obstacles, you can ease into your harness seat.
- Flight Posture: Maintain an upright position initially. This helps with balance and control during the critical first moments of flight.
- Scan for Traffic: Be aware of other airspace users. Look around to ensure a clear path.
Key Points for a Successful Forward Launch
- Consistent Speed: Maintain a steady acceleration during your run-up. Sudden stops or surges can destabilize the wing.
- Eyes Forward: Keep your gaze on the horizon. This helps maintain balance and direction.
- Upright Posture: Engage your core muscles and stand tall. An upright posture aids in effective energy transfer and control.
- Feel the Wing: Develop an intuitive sense of the wing’s position through the risers and harness tension.
- Smooth Movements: All inputs, whether steps or brake applications, should be smooth and deliberate.
Additional Tips for Success
- Practice Ground Handling: Spend time mastering ground handling in various conditions. This builds muscle memory and confidence.
- Choose the Right Conditions:
- Wind: Ideal for forward launch is less than 5 mph (8 km/h).
- Terrain: A gentle, obstacle-free slope enhances safety and ease.
- Equipment Familiarity: Know your gear. Different wings may have varying inflation characteristics.
- Stay Relaxed: Tension can lead to overreactions. Stay calm to respond appropriately to the wing’s behavior.
- Weather Awareness: Continuously monitor for changes in wind speed and direction.
- Safety First: If something doesn’t feel right during the launch, don’t hesitate to abort and reset.
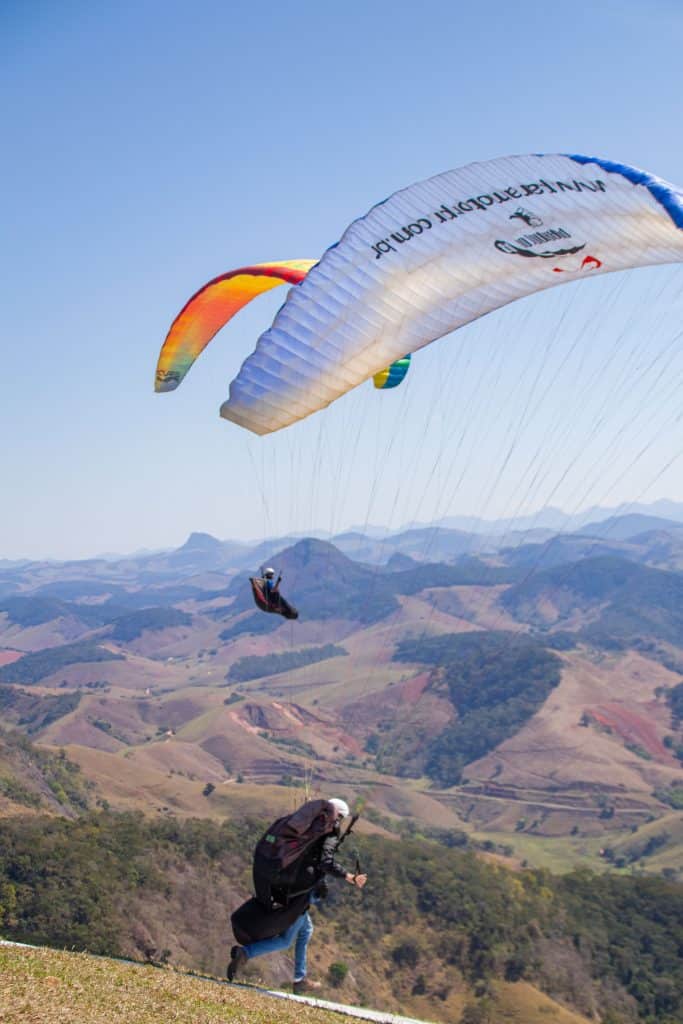
Reverse Launch
The reverse launch is a fundamental skill in paragliding, especially advantageous in moderate to strong wind conditions. By facing the wing during inflation, the pilot gains direct visual feedback and enhanced control over the canopy. Though it requires more coordination and practice than a forward launch, mastering the reverse launch offers significant benefits in safety and maneuverability, making it the preferred method for many seasoned pilots.
Understanding the Reverse Launch
In a reverse launch, the pilot stands facing the paraglider wing with the risers crossed over their shoulders. This orientation allows for visual monitoring and adjustments as the wing inflates. The ability to see the wing directly enhances:
- Control: Immediate correction of any asymmetry during inflation.
- Safety: Easier to abort the launch if necessary by pulling the brakes or rear risers.
- Wind Management: Better handling of stronger winds that can make a forward launch dangerous.
Step-by-Step Guide to a Reverse Launch
1. Setting Up
- Wing Layout:
- Positioning: Lay your wing out facing into the wind on a clear, obstacle-free area.
- Line Checks: Ensure all lines are untangled and properly laid out. Spread the canopy evenly to prevent snags during inflation.
- Visual Inspection: Check for any damage to the wing or lines, including tears, loose stitching, or worn areas.
- Equipment Preparation:
- Harness: Securely fasten all harness buckles and adjust straps for comfort and safety.
- Helmet and Gear: Wear a certified helmet and any other protective equipment like gloves and boots.
- Instruments: Turn on any variometers, GPS devices, or radios if used.
2. Grasping the Risers
- Crossing the Risers:
- Stand facing the wing with the risers in front of you.
- Cross the risers so that when you turn around later, they will uncross automatically.
- Hold the left risers in your right hand and the right risers in your left hand.
- Holding the A-Risers and Brake Toggles:
- A-Risers: Grasp the A-risers (front risers) firmly. They are typically color-coded for easy identification.
- Brake Toggles: Hold the brake toggles in the same hands as the respective risers, ensuring they are not twisted or entangled.
3. Inflating the Wing
- Initial Inflation:
- Wind Assessment: Feel the wind’s strength and consistency. Adjust your stance to so your back is directly into it.
- Gentle Pull: Begin by gently pulling on the A-risers to initiate the wing’s inflation.
- Body Position: Lean back slightly, using your body weight to assist in pulling up the wing without excessive force. If there is strong wind, it is safer to get the wing to an upright position (11-12 o’clock) more quickly so it does not have opportunity to drag you off balance. Although be careful not to pull the wing past the vertical point.
- Monitoring the Wing:
- Visual Focus: Keep your eyes on the wing, watching for any sections that lag or rise unevenly.
- Asymmetry Correction:
- If one side rises faster, apply a little brake pressure on that side to slow it down.
- Step toward the side that is lower to help balance the wing.
4. Controlling the Wing Overhead
- Stabilization:
- Once the wing is overhead, release the A-risers smoothly.
- Transition to controlling the wing primarily with the brake toggles.
- Wind Handling:
- In stronger winds, the wing may try to lift you prematurely. Brace yourself by leaning backward slightly and applying some body weight into the harness.
- Use small, deliberate brake inputs to keep the wing steady.
- Pre-Turn Check:
- Ensure the wing is fully inflated and stable.
- Look up to verify there are no line twists or tangles.
5. Executing the Turn
- Choosing a Turn Direction:
- Decide on a consistent direction to turn (left or right) to build muscle memory.
- Most pilots turn toward their dominant side for ease.
- Turning Technique:
- Step Method: Take a step toward the side you’re turning to initiate the rotation.
- Hand Position: As you turn, keep the brake toggles in hand and maintain control of the wing.
- Uncrossing Risers: The risers will naturally uncross as you complete the 180-degree turn.
- Post-Turn Adjustment:
- Reassess the wing’s position overhead.
- Make any necessary brake inputs to re-stabilize.
6. Transitioning to the Takeoff Run
- Forward Orientation:
- Now facing the launch direction, align your body with the wing and the wind.
- Check the airspace ahead for obstacles and traffic.
- Building Speed:
- Begin moving forward, increasing your speed smoothly.
- In moderate to strong winds, less forward speed is needed, but maintaining control is crucial.
- Maintaining Wing Control:
- Keep the wing directly overhead by feeling the tension in the lines.
- Use subtle body movements and brake inputs to correct any drift.
7. Achieving Lift-Off
- Feeling the Lift:
- Allow the wing to generate lift naturally as you reach the appropriate airspeed.
- Avoid jumping or pushing off the ground; let the wing do the work.
- Leg Position:
- Keep running until you are clearly airborne.
- Do not lift your legs prematurely to prevent stumbling or an unstable launch.
- Post-Liftoff Actions:
- Settle into your harness comfortably.
- Conduct a quick check of your equipment and surroundings.
Key Points for Mastering the Reverse Launch
- Practice Wing Control:
- Ground Handling: Spend time practicing kiting the wing in various wind conditions to build muscle memory.
- Simulated Launches: Rehearse the reverse launch sequence without taking off to refine your technique.
- Smooth Transition:
- Turning Consistency: Always turn in the same direction to make the movement instinctual.
- Fluid Movements: Strive for seamless actions from inflation to takeoff.
- Anticipate Wing Behavior:
- Wind Reading: Learn to read subtle changes in wind strength and direction.
- Wing Response: Understand how your specific wing reacts during inflation and adjust accordingly.
- Safety Considerations:
- Abort Procedures: Be prepared to safely bring the wing down if the launch becomes unstable.
- Environmental Awareness: Continuously monitor for changes in wind or potential hazards.
Additional Tips for Success
Mental Preparation
Before initiating the launch, it is essential to clear your mind of any distractions and focus entirely on the task ahead. Trust in your training and maintain a sense of calm throughout the process. Confidence in your abilities plays a significant role in executing a successful reverse launch.
Physical Stance
Adopting the correct physical stance enhances control and stability during the launch. Maintain a relaxed yet ready posture, keeping your knees slightly bent to absorb any sudden movements or changes in terrain. Engaging your core muscles helps stabilize your body, allowing for smoother handling of the wing.
Equipment Familiarity
Understanding your equipment is crucial, as each wing may behave differently. Familiarize yourself with how your specific wing responds to inputs so you can anticipate its behavior during the launch. Ensure your harness is properly adjusted for optimal comfort and control, which will aid in seamless movements and better overall handling.
Environmental Factors
Be mindful of environmental conditions that can impact your launch. Ideal reverse launch conditions involve moderate winds, approximately 5 to 15 mph (8 to 24 km/h).
Instruction and Feedback
Seeking professional guidance is invaluable when learning or refining your reverse launch technique. Working with a certified instructor provides expert insights and helps correct any mistakes early on. Additionally, having fellow pilots observe your launches and offer constructive feedback can significantly enhance your skills and confidence.
Embracing the reverse launch is like mastering a graceful dance with the wind. It requires coordination, anticipation, and a harmonious connection with your wing. While it may seem complex at first, dedicated practice will make the movements second nature.
Remember, every proficient pilot was once a beginner who practiced diligently. Invest the time in mastering the reverse launch, and you’ll open the door to new paragliding experiences, even in conditions that might challenge others.

Assisted Launch: Teamwork in Flight
In situations where wind and terrain make it difficult to launch alone, the assisted launch comes into play. An assistant, usually an experienced pilot or instructor, helps stabilize the wing or support the pilot’s harness during takeoff. This teamwork adds safety and ensures the wing inflates correctly and remains stable as the pilot launches.
Elements of an Effective Assisted Launch:
- Clear communication between the pilot and assistant is paramount.
- The assistant should be familiar with the pilot’s wing and launch technique.
- Always have a pre-launch checklist to ensure harness straps, lines, and brake handles are free and clear.
Each launch technique has its place and importance in a pilot’s skill set. Pilots should practice all methods to be adaptable to various flying sites and conditions.
Tips for Perfecting Your Launch:
- Practice Makes Perfect: Spend time ground handling to get a feel for your wing and how it responds to your inputs. Trust me, you will cherish every minute you have ground handled when there is a queue at a take off point and the wind is not in your sweet spot.
- Know the Conditions: Always assess the wind and weather before deciding on your launch technique.
- Stay Relaxed: Tension in your body can translate to erratic wing control. Stay calm and composed.
- Get Feedback: Work with instructors or experienced pilots who can provide tips and corrections.
- Safety First: Don’t rush the process. Make sure everything is in order before attempting to launch. If in doubt, don’t fly.
Launching is just the first step in your paragliding journey, but it’s a crucial one. By mastering these techniques, you set the stage for a safe and enjoyable flight. Whether you’re inching forward for a forward launch, pivoting during a reverse launch, or coordinating with a partner for an assisted takeoff, the art of launching is your gateway to the skies. Remember, the launch is your first conversation with the wind—make it a good one, and the sky will welcome you with open arms.