
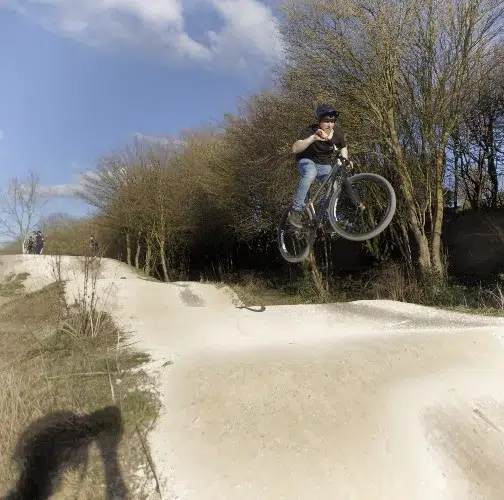
Warum Springen so schwerfällt und wie du diese Herausforderung meisterst
Über den Autor: Dieser Beitrag wurde vom Mountainbike-Experten Michael Guilford von Ride About, einem Partner von adventuro, verfasst.
Mit dem Mountainbike zu springen sieht einfach aus, wenn es jemand anderes macht – für die meisten Fahrer gehört es jedoch zu den schwierigsten Fähigkeiten, die es zu meistern gilt. Wenn du nicht viel Zeit mit BMX, Dirt Jumps oder MTB-Coaching verbracht hast, weist deine Technik wahrscheinlich einige Lücken auf.
Und das ist völlig normal.
Beim Springen geht es weniger um rohe Kraft als um Feingefühl, Timing und darum, zu verstehen, wie du dich mit dem Bike bewegst – nicht dagegen.
Bevor du überhaupt an die Absprungkante heranrollst, überprüfe dein Bike kurz rundum. Stelle sicher, dass deine Reifen fest genug aufgepumpt sind – ungefähr 25-30PSI für einen Erwachsenen.
Warum Springen so schwierig ist
Springen ist kein Trick – es ist eine Präzisionsfähigkeit. Es mag aussehen, als würden Fahrer ihr Bike von der Absprungkante reißen, tatsächlich nutzen sie jedoch eine ausgefeilte Bewegung, die sie über viele Stunden Wiederholung entwickelt haben. Kleine Fehler beim Timing oder bei der Körperhaltung führen zu wackeligen Absprüngen, unbeholfenen Momenten in der Luft und den gefürchteten „Dead-Sailor“-Momenten.
Die Wahrheit? Die meisten Fahrer brauchen nicht mehr Mut – sie brauchen bessere Technik.
Deshalb empfehlen wir dringend, richtiges MTB-Coaching zu bekommen, statt dich auf Tipps von Freunden zu verlassen oder Ratschläge aus zufälligen YouTube-Videos zusammenzustückeln.
Damit du den Einstieg findest oder deine aktuelle Technik verbesserst, haben wir hier einige wichtige Tipps für dich:
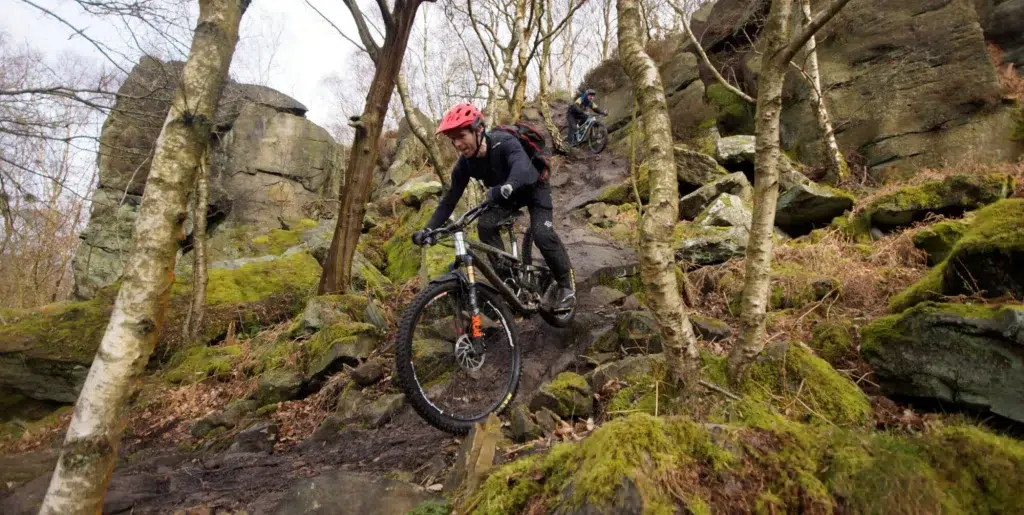
Tipp Nr. 1: Drücken, nicht ziehen
Eines der häufigsten Missverständnisse beim MTB-Springen steckt in der Aussage „Du musst daran ziehen“. Das ist eine Formulierung, die fortgeschrittene Fahrer verwenden, aber sie bedeutet nicht das, wonach sie klingt.
Wenn du das Springen lernst, musst du beim Absprung aktiv durchdrücken.
Hier kommt das Pumpen ins Spiel – dieselbe Technik, die du auf Rollern und in Anliegern verwendest. Stell dir Springen als eine vertikale Umlenkung dieser Pumpbewegung vor. Du drückst in die Absprungkante hinein, um Pop zu erzeugen, statt dein Bike in die Luft zu reißen.
Der Fehler vieler Fahrer besteht darin, den Sprung zu absorbieren – sie lassen das Bike zu sich hochkommen –, was zu inkonsistenten Absprüngen und mangelnder Kontrolle in der Luft führt.
Übe zunächst das Pumpen auf kleinen Rollern. Wenn du die Bewegung richtig beherrschst, kannst du über den Abschnitt Geschwindigkeit gewinnen und dich dabei flüssig fühlen.
Tipp Nr. 2: Finde die richtigen Sprünge zum Üben
Fahrer sagen oft: „Ich habe an diesem Sprung geübt, den ich im Wald gefunden habe.“ Und obwohl lokale Trails großartig sein können, sind sie zum Lernen meist nicht ideal.
Suche stattdessen nach:
• BMX-Strecken
• Pumptracks
• MTB-Sprungtechnikbereichen (in Bikeparks)
Warum? Diese Bereiche wurden normalerweise von erfahrenen Fahrern gezielt angelegt. Sie haben eine vorhersehbare Geometrie und progressive Linien und zwingen dich, die Technik richtig auszuführen.
Tipp Nr. 3: Konzentriere dich auf die richtigen Elemente
Wenn du gerade anfängst oder deine Technik verfeinerst, wähle Sprünge, die dir gute Voraussetzungen bieten:
• Tabletops mit 1–2 Bike-Längen
• Double-Roller-Sprünge mit 1 Bike-Länge
Diese Elemente sind nachsichtig genug, um sicher darauf zu lernen, verlangen aber dennoch Präzision. Du bekommst sofort Rückmeldung, wenn etwas nicht stimmt – und ein großartiges Gefühl, wenn du den Sprung perfekt triffst.
Meide steile „Kicker“-Rampen, bis du eine flache Absprungkante sicher überwinden kannst. Kicker verstärken jeden Timing-Fehler und schicken Anfänger oft mit der Nase nach oben. Ein langer, sanfter Übergang – ungefähr zwei Bike-Längen Rampe pro eine Höhenlänge – eignet sich viel besser, um deine Technik zu verfeinern.
Tipp Nr. 4: Filme dich selbst
Eine der schnellsten Möglichkeiten, deine Sprünge zu verbessern, ist, dich selbst aufzunehmen. Was du in der Luft spürst, entspricht oft nicht dem, was tatsächlich passiert.
Wenn du dich selbst ansiehst – und mit erfahrenen Fahrern vergleichst –, wirst du allmählich subtile, aber entscheidende Unterschiede bemerken: Körperhaltung, Timing des Drucks, Bike-Winkel usw. Tools wie Coach’s Eye (extern) oder einfach ein Smartphone und ein Freund können wahre Wunder bewirken.
Stelle die Kamera seitlich auf Lenkerhöhe auf, ungefähr 5 m hinter der Absprungkante, damit du Kompression, Pop und Landung in einer durchgehenden Aufnahme sehen kannst. Wenn du Zugriff auf 60 fps oder 120 fps Zeitlupe hast, umso besser – halte den Moment an, in dem beide Räder den Boden verlassen, und überprüfe, ob deine Schultern noch mittig über dem Tretlager liegen.
Tipp Nr. 5: Optimiere deine Landung
• Richte den Winkel deines Bikes an der abfallenden Landefläche aus. Ein leichter Druck nach vorn auf den Lenker in Kombination mit nach unten gerichteten Fersen bringt das Vorderrad sanft nach unten.
• Federe zuerst mit den Armen, dann mit den Beinen ab. Denk an „weiche Ellbogen, feste Knie“, damit das Hinterrad folgt, ohne auszuschlagen.
• Pumpe den hinteren Teil der Landung. Das stabilisiert dich nicht nur, sondern hilft dir auch, Geschwindigkeit in das nächste Element mitzunehmen.
Tipp Nr. 6: Schutzausrüstung und Wetter prüfen
• Ein leichter Fullface-Helm und Knieschoner sind sinnvoll, sobald du dich über Tabletop-Sprünge auf grünen Linien hinauswagst.
• Handschuhe mit Silikonfingerspitzen verbessern den Grip, wenn du schwitzt oder es nieselt.
• Wind ist der unterschätzte Gegner beim Sprungtraining. Böen mit mehr als 15 mph machen das Timing unberechenbar; warte entweder, bis sie nachlassen, oder wechsle auf eine geschützte Linie.
Abschließender Gedanke: Es ist eine Fähigkeit, kein Trick
Beim Springen geht es nicht darum, es einfach „rauszuschicken“. Es geht darum, den Sprung zu fahren – mit bewusster Technik Airtime zu erzeugen, die sauber, flüssig und wiederholbar wirkt.
Also überstürze nichts. Finde die richtigen Elemente, nimm hochwertiges Coaching in Anspruch und behandle es wie jede andere Fahrtechnik: als etwas, das durch Übung, Feedback und kontinuierliche Weiterentwicklung entsteht.
Du kannst bei mir im Peak District hier ein Coaching buchen.